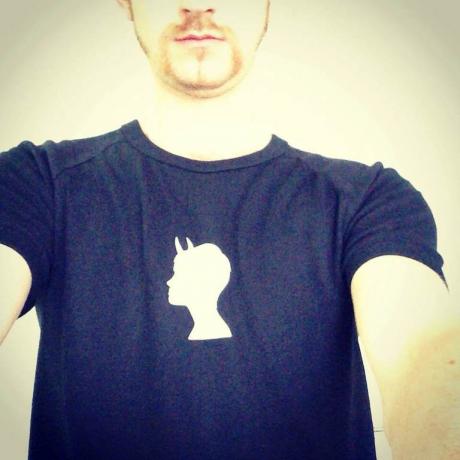
This is the end result for one of the designs I tried:
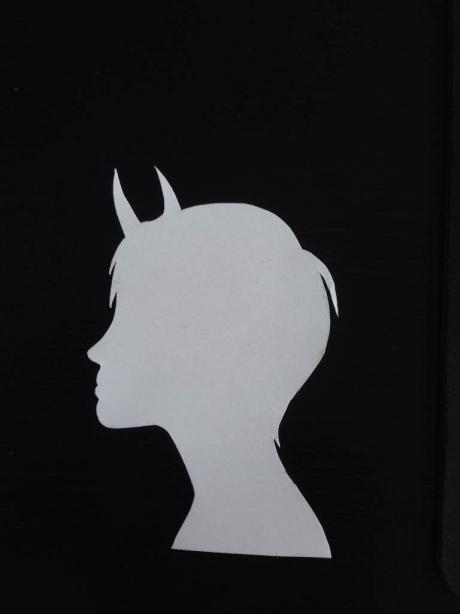
To start I found a design, anything will work but the best and easiest to work with is something can can be cut out as a single piece. The particular design I picked had a few gaps within it, I simply coloured them in before printing it out. This design is printed on normal paper.
Once I had the design printed, I traced it onto the back side of the transfer paper, it's important to do it on the back so as not to get any ink on the transfer paper itself, otherwise it won't stick. Depending on the design it might be a good idea to mirror it before printing.
I used some scissors and a scalpel to cut it out afterwards. The scalpel is useful in those hard to reach parts of designs. The transfer paper is a little stretchy so cutting very fine sections of it can get difficult with scissors.
Next was to heat up the iron to the hottest setting and place the design where I wanted it on a tshirt. The tshirt I used is just a normal Bonds raglan T, brand new they have a crease right alone the centre so placing the design is very easy.
Once the iron is hot and design in the desired location, I used the back (wide) side of the iron to press down on the design. The idea is to apply heat evenly for around 10 seconds at a time all around the design, this will adhere the transfer paper to the fabric. Some pressure is required for this too.
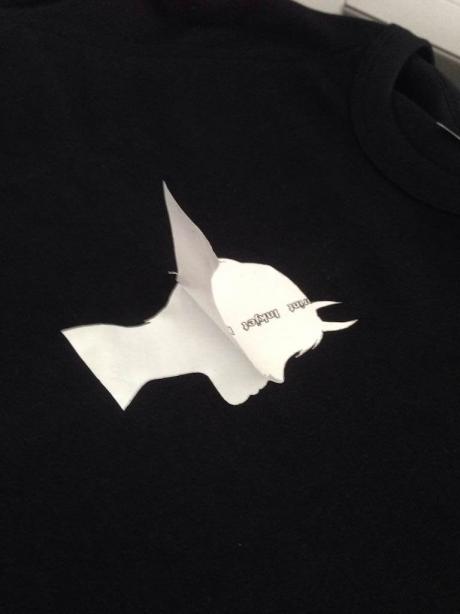
Once the design is ironed on, it will be hot, so I leave it for 5-10 minutes. Once it's cooled down, it's time to peel off the backing paper.
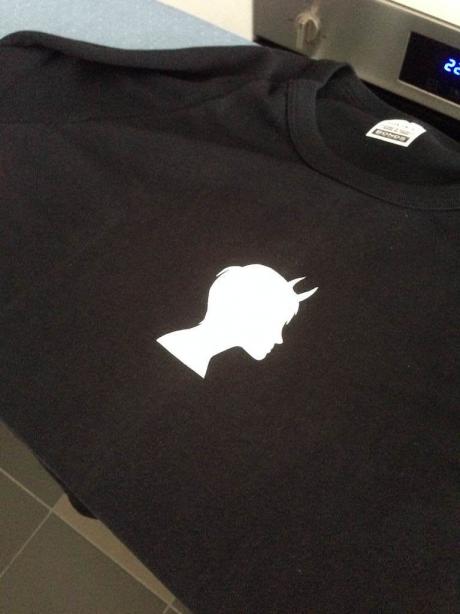
...and then inspect the result.
This takes under 20 minutes from start to finish and the results are pretty cool I think.
-i


