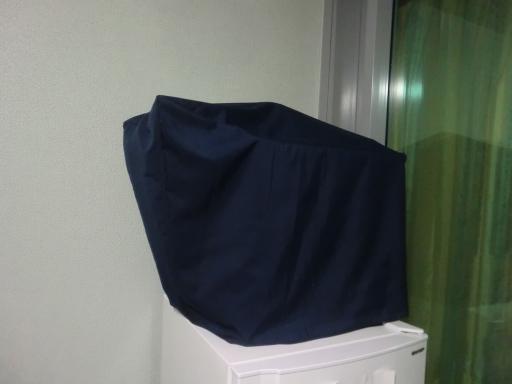
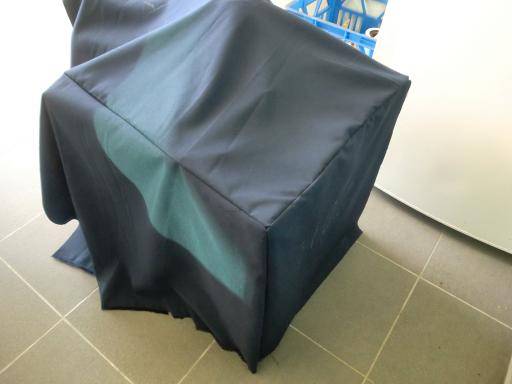
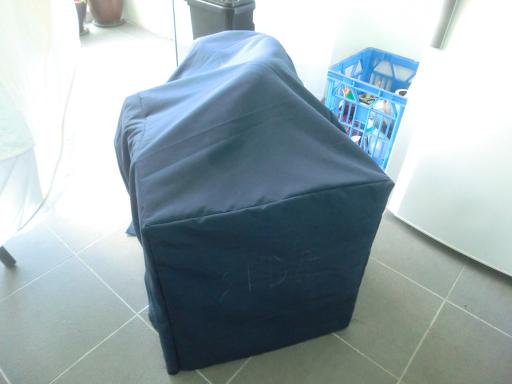
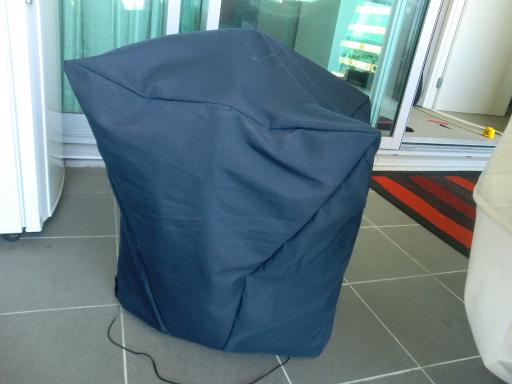
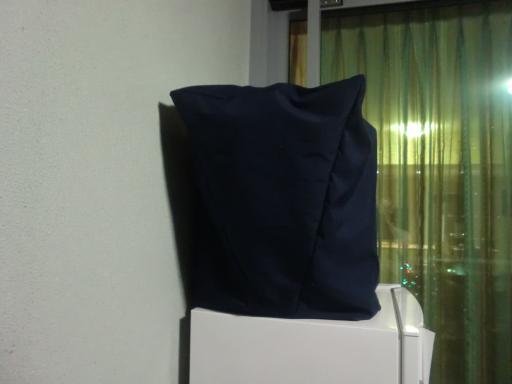
Here is the final result:
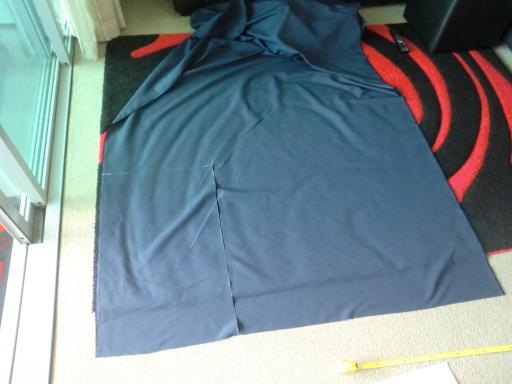
The fabric was quite cheap at $3.5/m from a cut offs store. I had the sewing machine already, so all that was needed was to get the pattern right. This is something I improvised on as I went.
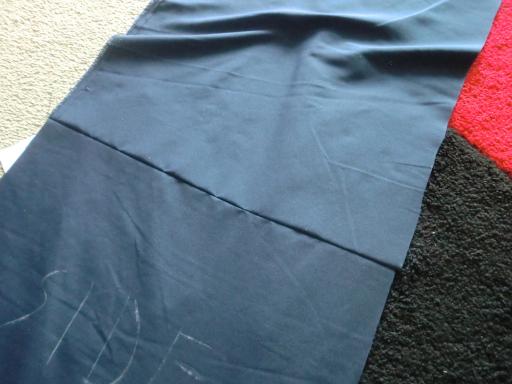
I went for the dark blue fabric primarily because it was the only dark colour available at the shop. For its price, I am not complaining and the blue actually works well as a cover. So I started cutting...
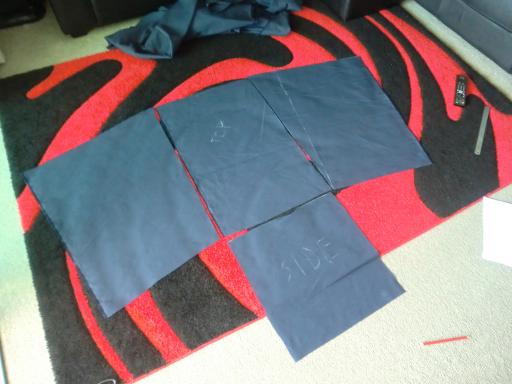
At first I had a much more complex idea for a cover with zips, etc, but went for a simpler one with a slant to accommodate the exhaust and the plastic spool. At this point I wasn't sure what I was going to do on the side that had the spool, so only cut out the other sides and started sewing.
This is my trusty sewing machine...a Singer 201k, electric.
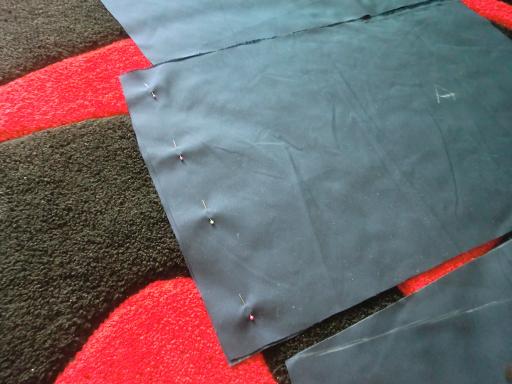
Pinning the fabric together...
...and the first stitch is in place!
Couple more stitches and the cover is ready for a test fit, seems ok so far.
More stitches and it's taking shape.
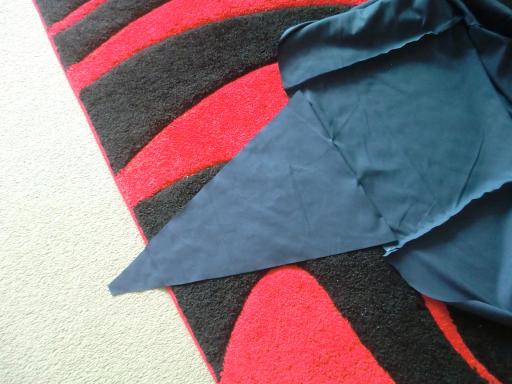
With all but one side covered now, I had to work out what to do on the spool side of the cover. Originally I was thinking some kind of zip, but decided to go for a simpler approach of having a triangular piece instead.
With the piece sewed in, it works pretty well.
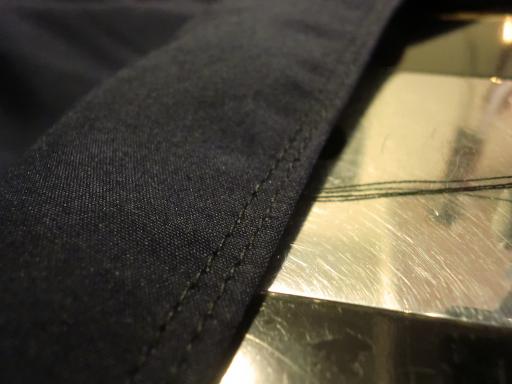
Now it was time to hem it. I went with a double stitch hem.
The complete cover works pretty well and is easy to slip on.
-i
