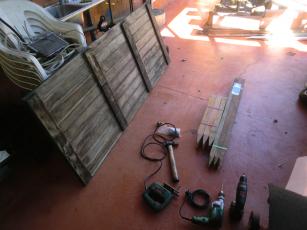
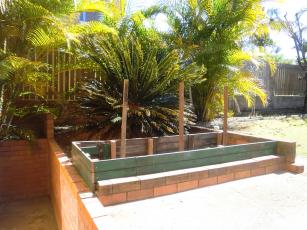
There was a bit of old wood to work with at the house already, the biggest of which was an old table top. This happened to have 9 rows of planks, which I cut into three lots. The height of each lot of three planks was the perfect height for the garden bed.
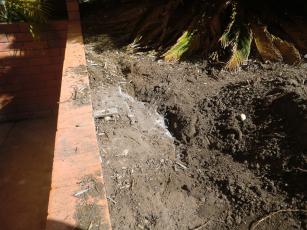
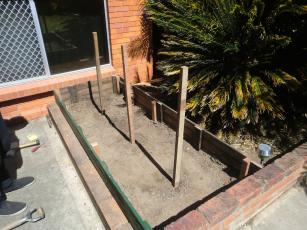
The location where this was going to go unfortunately had a bit of concrete buried under the soil. I tried to remove some of this, but it was too difficult, so I put the sides of the garden bed on top of it instead, with cut outs as necessary to make it fit.
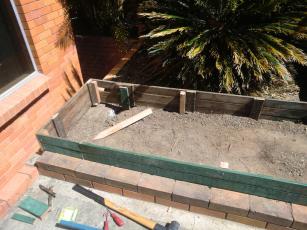
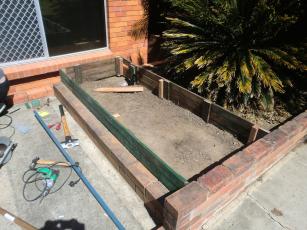
A little bit of work later, the sides were put in place with some stakes to secure them. The side close to the bricks had concrete under the soil so the stakes would not go in very deep. The other side, however, we were able to drive the stakes all the way in. (How cool is that sledge hammer?!)
We drove some long stakes into the middle of the bed to hold up the netting that will go in later.
Once the garden bed was done, it was time for soil (the following weekend). We had quite a bit of soil delivered, not all of it for the garden, this was the mound that got dropped off. It only took around 5-6 wheelbarrows to fill the garden bed.
The last touch before planting was to add a drip hose. The sides of the garden bed are going to have netting all around to protect it from local animals (bats, cats and possums in our case). Because of this, I thought it would be easier to connect a drip hose rather than having to manually water it all the time.
I used some pegs to secure the hose to the ground; found these in the same location as tent pegs at my local hardware store.
Now it's all ready for the planting!
-i
