The monitor worked right out of the box with my MacBook Pro (Retina, Mid 2012) using a mini-DP to DP cable. The built-in USB 3 hub also had no issues.
I even connected my home server to the monitor using HDMI, again no problems and Picture-in-Picture/Split Screen worked like a charm.
Update (8-Aug-2017) - I've tried connecting this monitor over USB-C to my 2017 MacBook Pro, read about that here.
So here it is after being all set up. My Bowers and Wilkins MM-1 speakers don't fit on the sides any more like they did with the previous monitor, but having them at the back of this monitor doesn't diminish the sound quality, plus having them plugged into the monitor's USB hub means they automatically turn off when the monitor does.

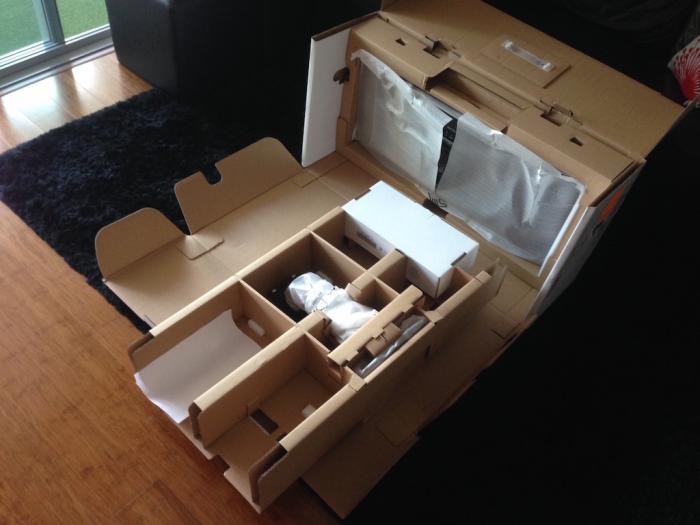
Now lets check out how it came packaged...The box...it's big, easily taking up the seating space of my couch.

The box is a wonder when you open it. Really an engineering charm! There is very little styrofoam, most of the material is rigid cardboard, means it's very environmentally friendly! There are two large compartments inside the outer box, the first one houses the stand and another box of accessories, the second one houses the screen panel itself.

Due to the design of the compartments, the panel ends up being in the centre of the box, very well protected.

The only styrofoam in the box was on the second compartment that houses the panel, this is to accommodate for the curve of the screen.

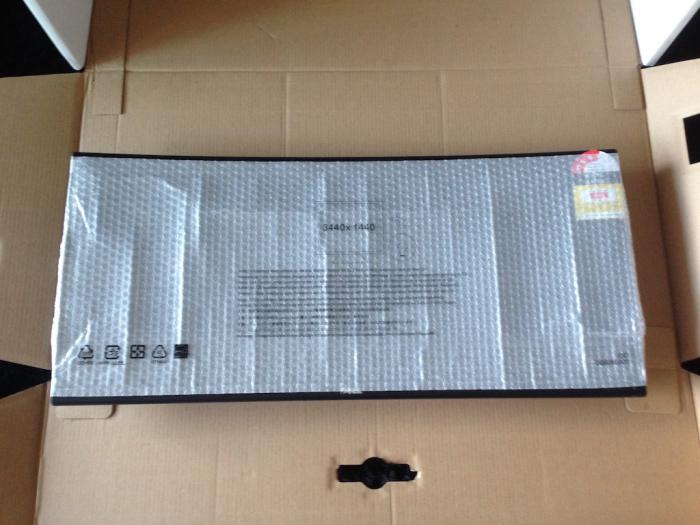
The screen itself is protected with bubble wrap.

The stand is wrapped in some soft packaging material.

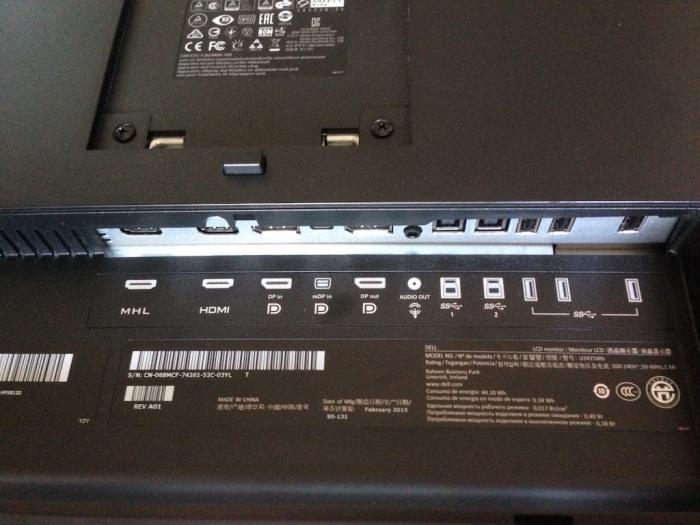
Now onto the assembly, but first lets see what connectivity options this thing offers. At the rear there is 1x MHL, 1x HDMI, 1x DP in, 1x mini-DP in, 1x DP out, 1x Audio out, 2x USB in, 3x USB out, plus on the back of the panel itself on the left side is another fast-charge USB port. All USB ports are USB 3. The reason for having two USB in connectors is so that two separate computers can be plugged into the monitor, you can switch between these on the monitor's on-screen menu.

The stand simply clips into place.

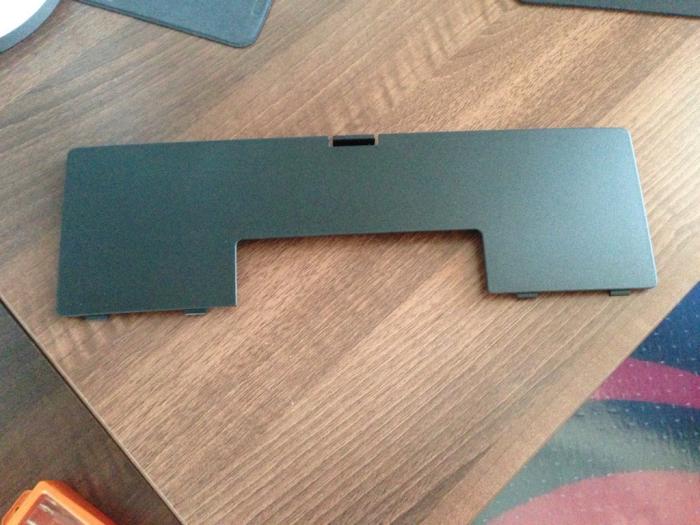
There's also a rear cable cover that clips in place, it's a bit tricky to place but once its in, the opening for cables is very neat and all the connectors are well out of sight.


I tried the picture-in-picture and split display options, it's pretty cool. I liked the split display, having both my laptop and home server connected to the same monitor having half a monitor each.

Overall, I am very impressed with this display. The curve had me confused for a while, but after working on it for half an hour it felt really natural and actually enhances the experience because the monitor is just so wide you need the curve to bring the display in a little.
-i
