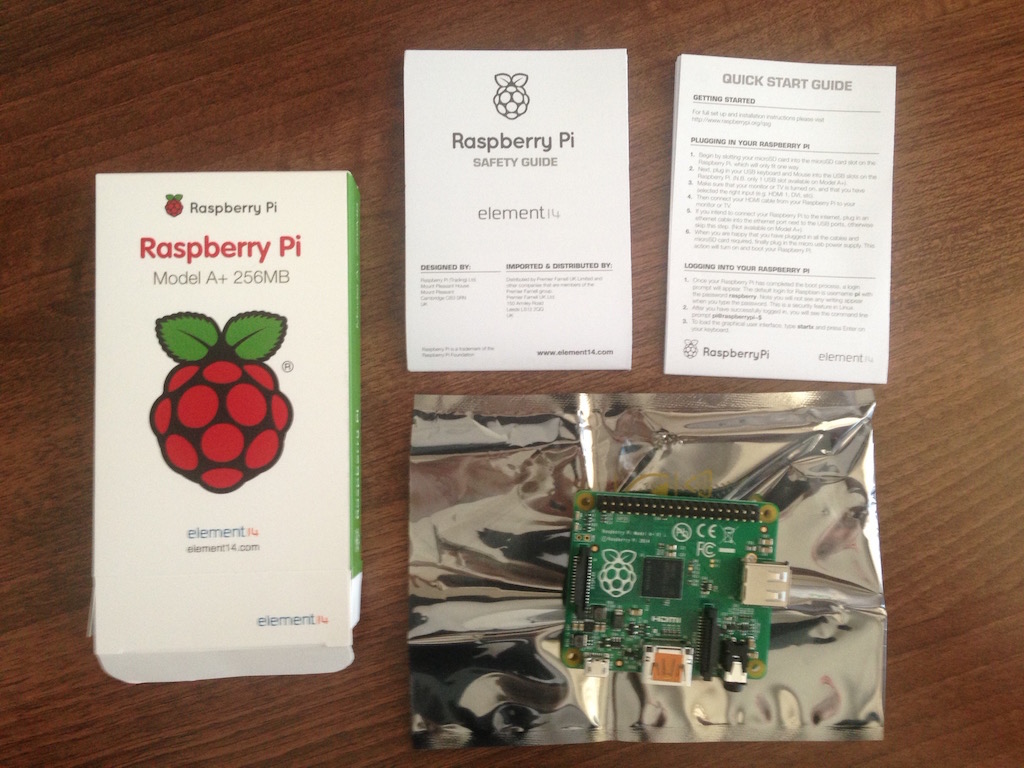
It came in a neat little package with some instructions, the RaspberryPi itself was in an anti-static bag. I didn't realise how small the A+ actually is until I saw it!
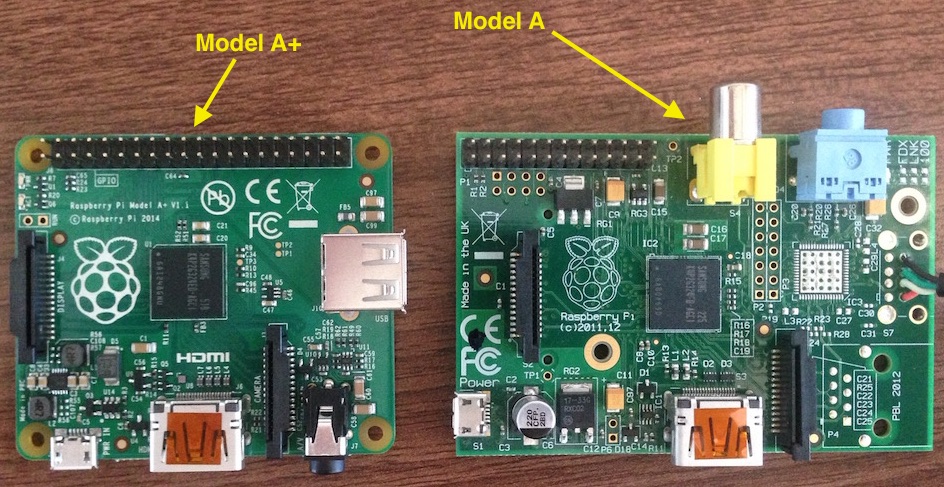
Here are some photos of my old Model A (don't mind the desoldered USB port) and the new Model A+. I'm glad that ugly video out connector is gone and the positioning of the micro-usb port is much better too, no more having cables sticking out on 3 sides of the board!
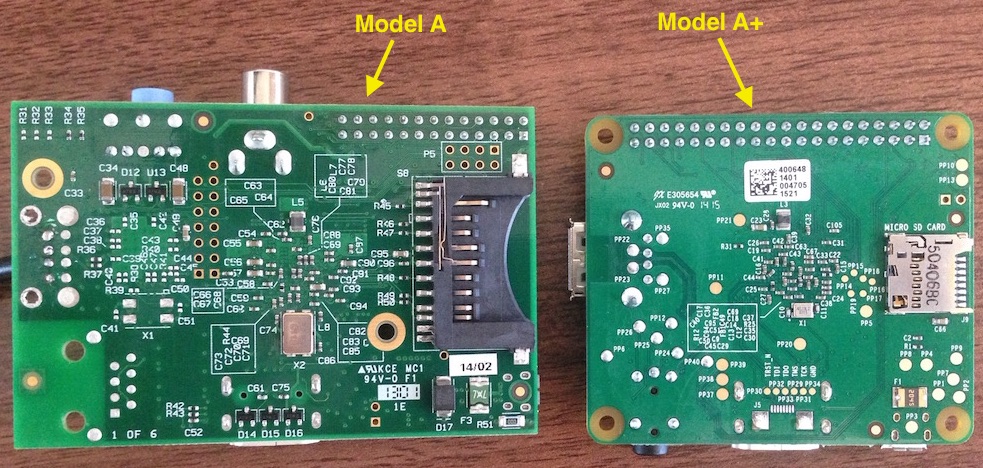
On the bottom the most obvious difference is the SD card slot is replaced with a micro-SD card slot.
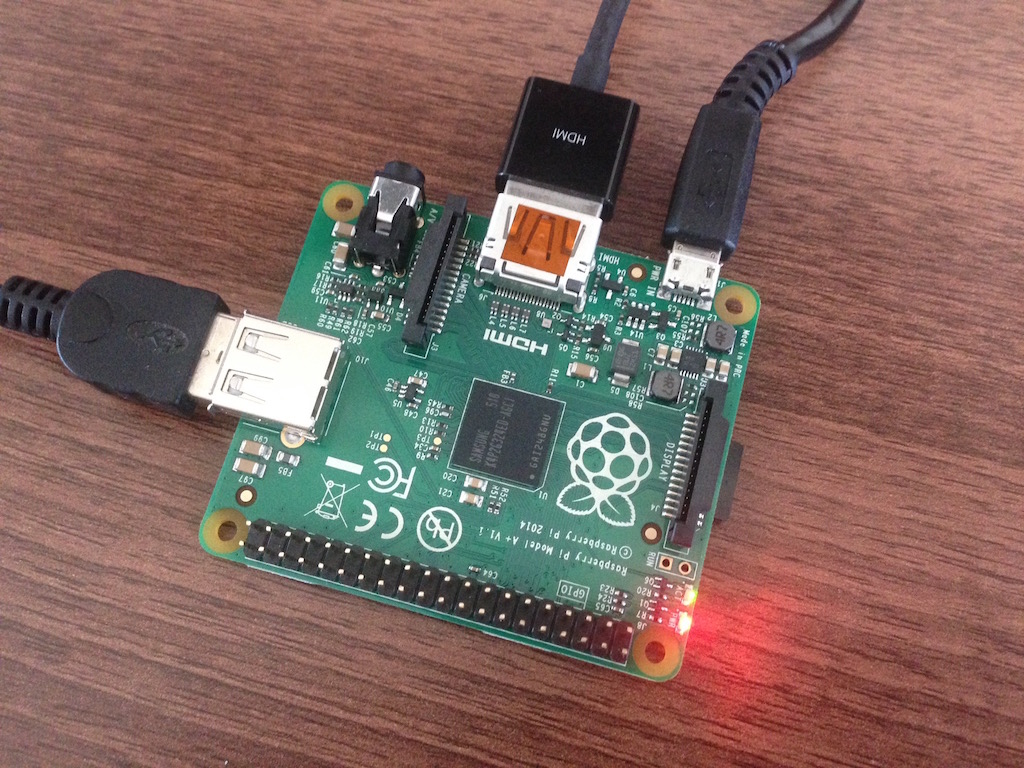
I was using an SD card adapter with my old Model A, so I just took the micro-SD card out of the adapter and fit it to the new Model A+. It booted up without any issues.
Now it's time get it ready for photo frame version 2.
Update: Did some hacking on the photo frame over the weekend. Check it out!.
-i
