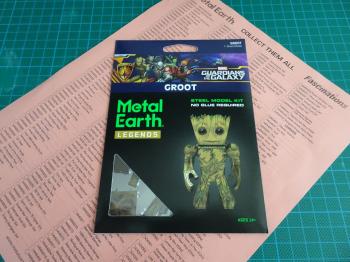
Unlike other kits from the Metal Earth 3D series, the Legends series of kits are not just plain metal, they have colour. This really makes each of the models stand out and gives it that much more character.
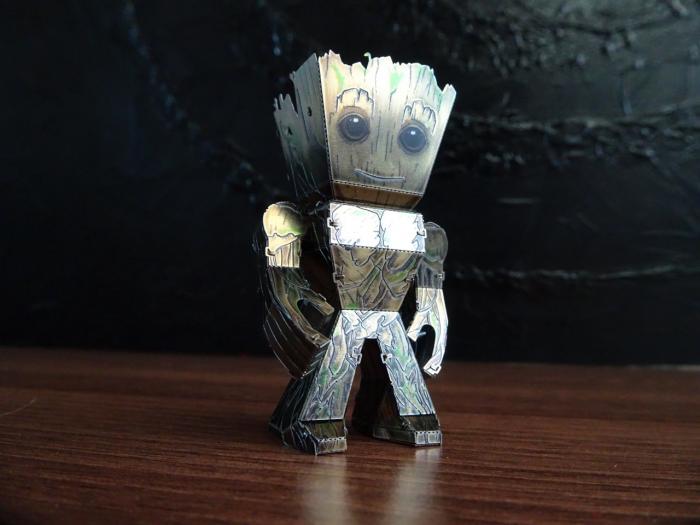
I must say that initially I thought it weird to have figurine kits from Metal Earth 3D, but after having assembled one it really grew on me. Here's my Groot fully assembled. Read on to see what's in the kit, the assembly and my overall thoughts.
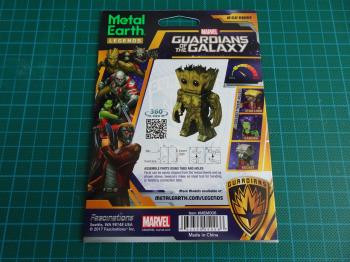
The Groot kit was a single-sheet model. It was ranked 3 out of 10 on the difficulty scale and took me about an hour to make. I really like the fact that these newer kits have difficultly ratings printed on the back, that's something the original Metal Earth 3D kits were missing.
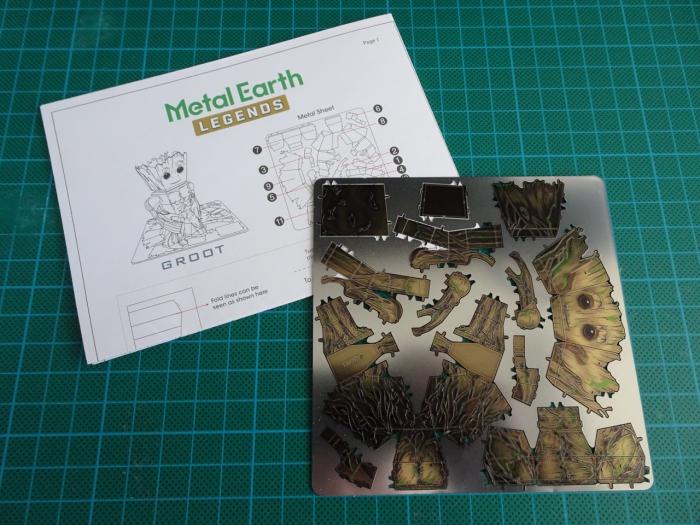
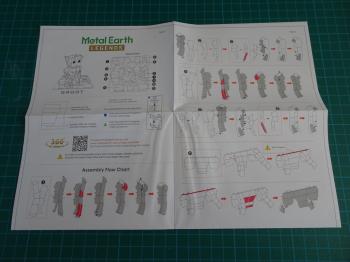
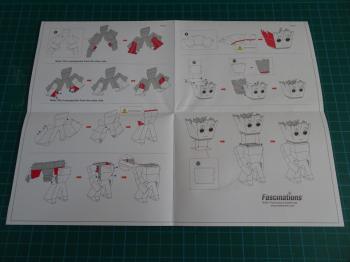
Inside the kit was a single metal sheet with all the parts of the model stamped out. Along side that were the instructions, which came on a single large piece of paper. On the most part these instructions were easy to follow, however I did notice that the left/right arms were mixed up. Instead of using pieces 1, 2 and 3 for the left arm I actually had to use pieces 4, 5 and 6. Hopefully this issue will not be present once the kits are available to purchase.
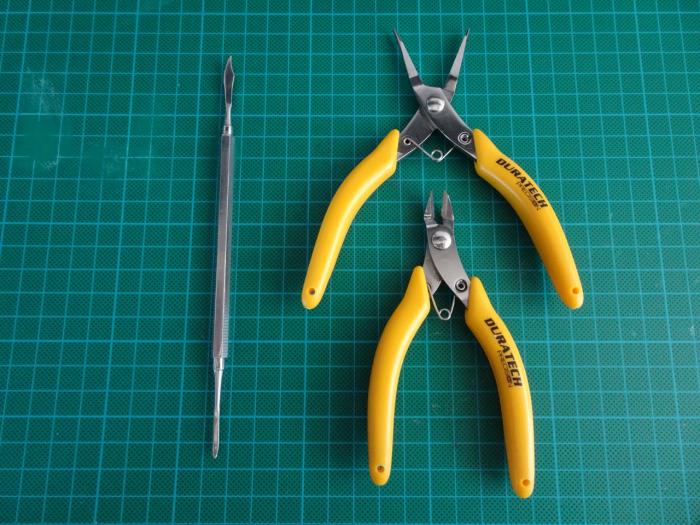
Just like the last time I put together a Metal Earth 3D kit (Imperial Star Destroyer kit) I opted to have a few tools at my disposal. Side cutters were a must for clean cuts, needle nose pliers helped with some of the tricker places where metal needed folding. The spatula tool was used to fold over the connector tabs.
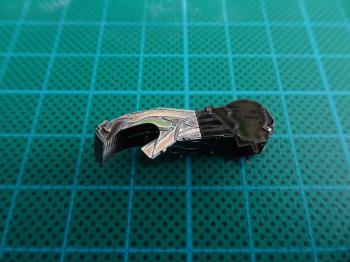
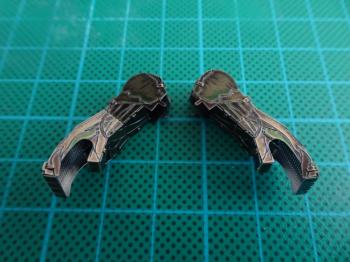
So lets see what it took to put Groot together...As I mentioned earlier there was a mix up in the instructions between the left and right arms. This caused me to first start putting the left arm together inside out. Once I realised that the instructions weren't right I quickly fixed that. Not long after I had both the left and right arms. These were mirror images of one another.
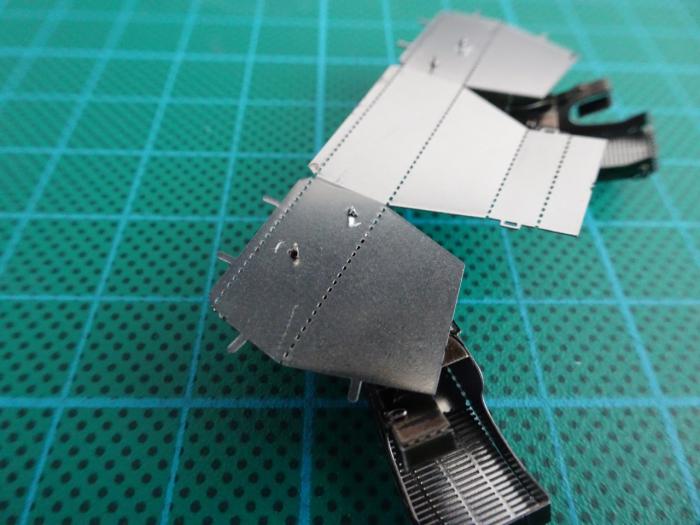
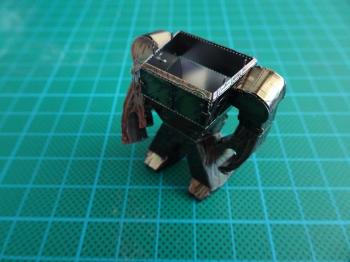
The arms attached to the another piece (the torso rear) to position them in place. Instead of folding tabs over here I twisted them instead, this seemed to have given me a sturdier fit. The arms were not attached symmetrically, giving Groot a nice pose.
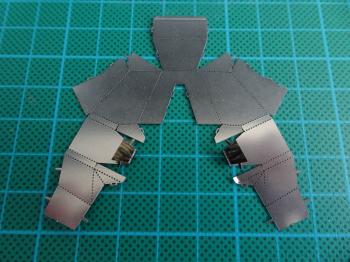
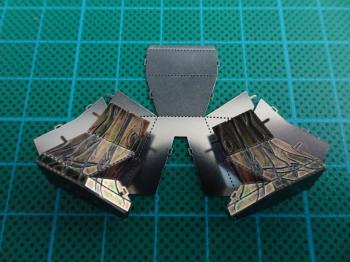
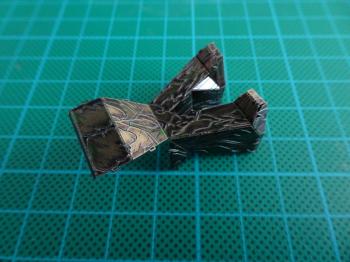
The legs and front side of the torso were made of a single part. There were quite a few tricky folds required and the folding started from the unpainted side of the part. I used my needle nose pliers quite a bit to bend this piece into place. It was like metal origami.
The rear of the torso, where the arms were attached, connected to the front and that was the body done.
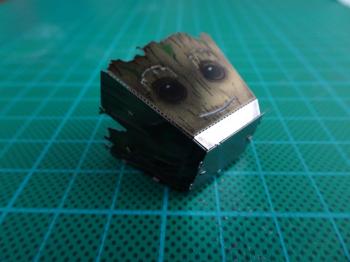
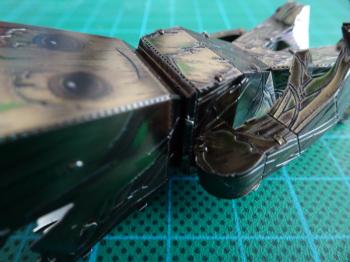
The head was made up of more pieces than I was expecting it to have. The head was hollow but was covered on all sides. To attach the head I bent the tabs sticking out of the torso outwards. I found this easier than trying to bend them in towards the head.
And so that was it! The Groot model was not a large kit, but fun to put together nonetheless. There is a 360 degree view of Groot on the Fascinations web site, but if you want to see a video of the one I put together, hit play below...
There are other models in the Guardians of the Galaxy line up including Gamora, Rocket, Star-Lord and Drax. I think the images on the official web site don't quite do them justice though. These kits look really cool in real life. The paint job is very well done, there is colour but the kits still look and feel like true Metal Earth 3D kits. I'd totally recommend them whether you like these types of kits or just are a fan of Guardians of the Galaxy (or Avengers and Justice League for that matter)!
-i
