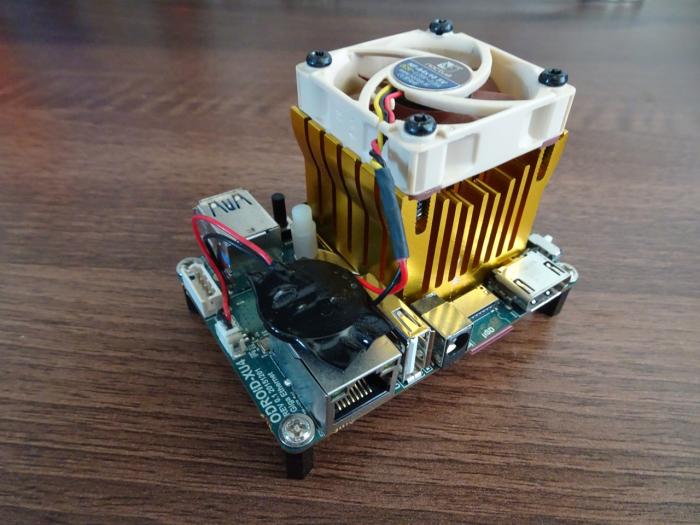
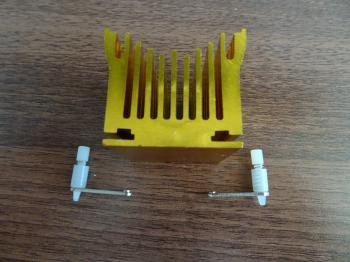
The heatsink I ended up using was from AliExpress - GDSTime DIY NorthBridge Cooling Heatsink For Chip CPU Computer North Bridge. It fit perfectly in place of the old heatsink and as a bonus I was able to attach my Noctua NF-A4x10 5v 40mm fan directly to it.
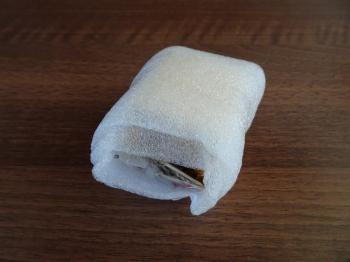
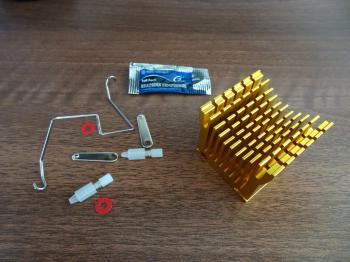
The heatsink arrived very well packaged, as usual for all the orders I've had from AliExpress. Inside the package was the heatsink itself, some thermal paste and a variety of attachment options to securing the heatsink.
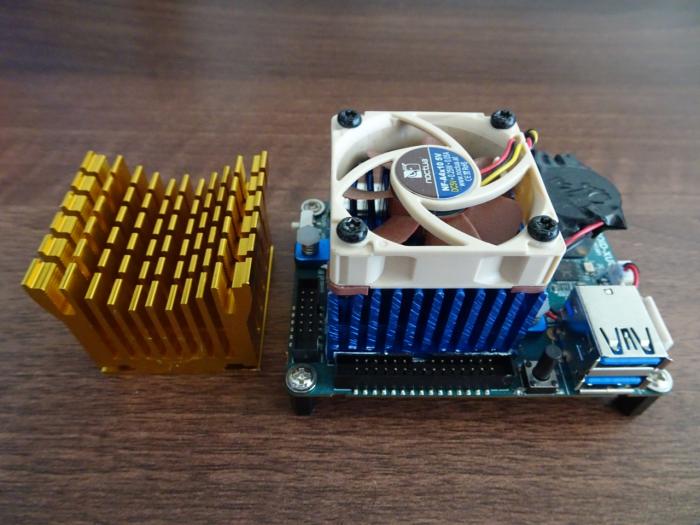
Next to the "tall blue" heatsink this one looked like a giant!
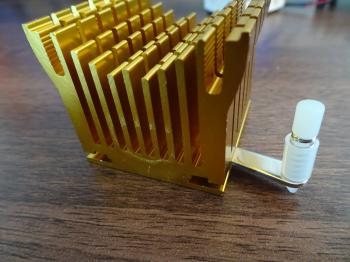
I used the mounting clips that clicked in through the board as a means of attaching the heatsink. These had to be slid into place along the bottom channel of the heatsink. It was quite easy to position them and since they didn't have a fixed location, it made it super easy to attach to the XU4.
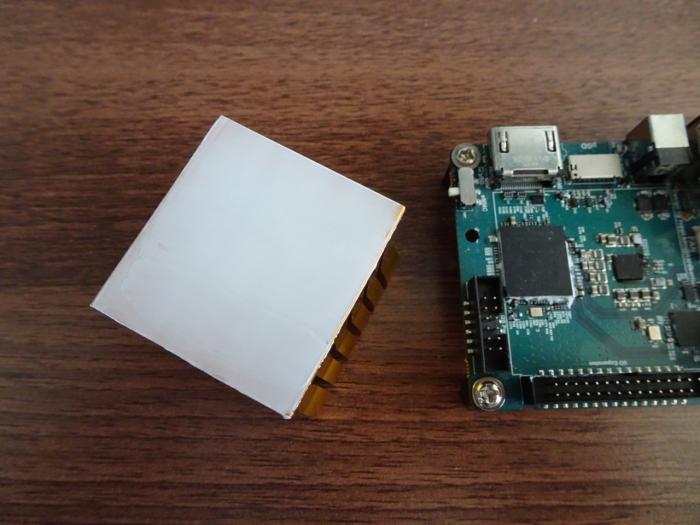
After removing the old heatsink, I cleaned up the CPU and GPU with a thermal paste cleaning solution. Then I did a dry fit of the new heatsink first to see how well it would sit. Last, I applied thermal paste and attached the heatsink.
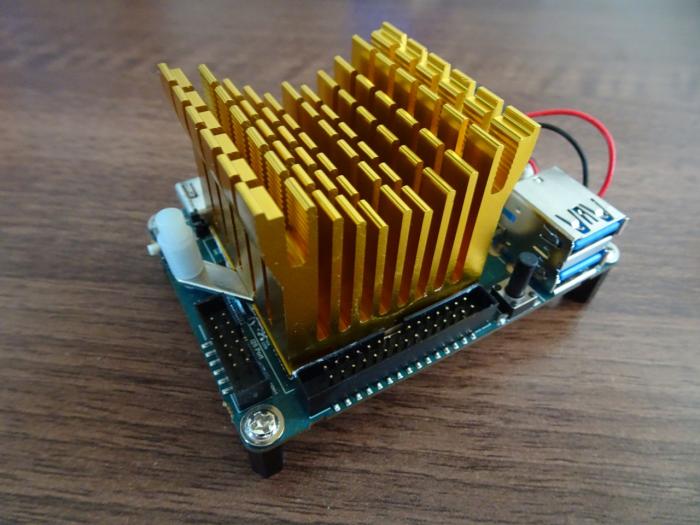
It fit in really well the first time!
This heatsink had threading for fan mounting screws. That was the main reason I bought it. Attaching the fan was a breeze. Please see my earlier article if you want to know how I connected the fan.
I was expecting this heatsink to keep the XU4 cooler since it was larger than the original. Unfortunately this was not the case. This and the "tall blue" heatsink perform about the same in terms of heat dissipation. Where this heatsink wins is how cheap it is compared to the official Hard Kernel version and the fact that it has threading for screws. I also like the gold colouring, so overall this heatsink is a winner hands down in my book.
-i
