ADSL yes, that's because the NBN network was not available on our stretch of street. If we were living 3 houses up, we would get connected the the ageing HCF NBN network, but since we were on a new subdivision in a new-built house, NBNco didn't even know that our address existed when we moved in. ADSL seemed like the best option at the time (spoiler alert - it wasn't and we are now using 4G instead), but I digress, so read on...
The actual booking process with Telstra was smooth, they had a scheduled date for their contractor to come out and get everything connected. They sent their modem within days, which had temporary 4G connectivity at the fast speed of around 5Mbit (lol). However, it wasn't made clear to me whether I'd have to dig a trench from the house to the communications pit. This is the owner's responsibility and the only comms pit I could see was across the street from me. Telstra support could not giving me a definite answer and said that the contractor will assess the situation when they arrive.
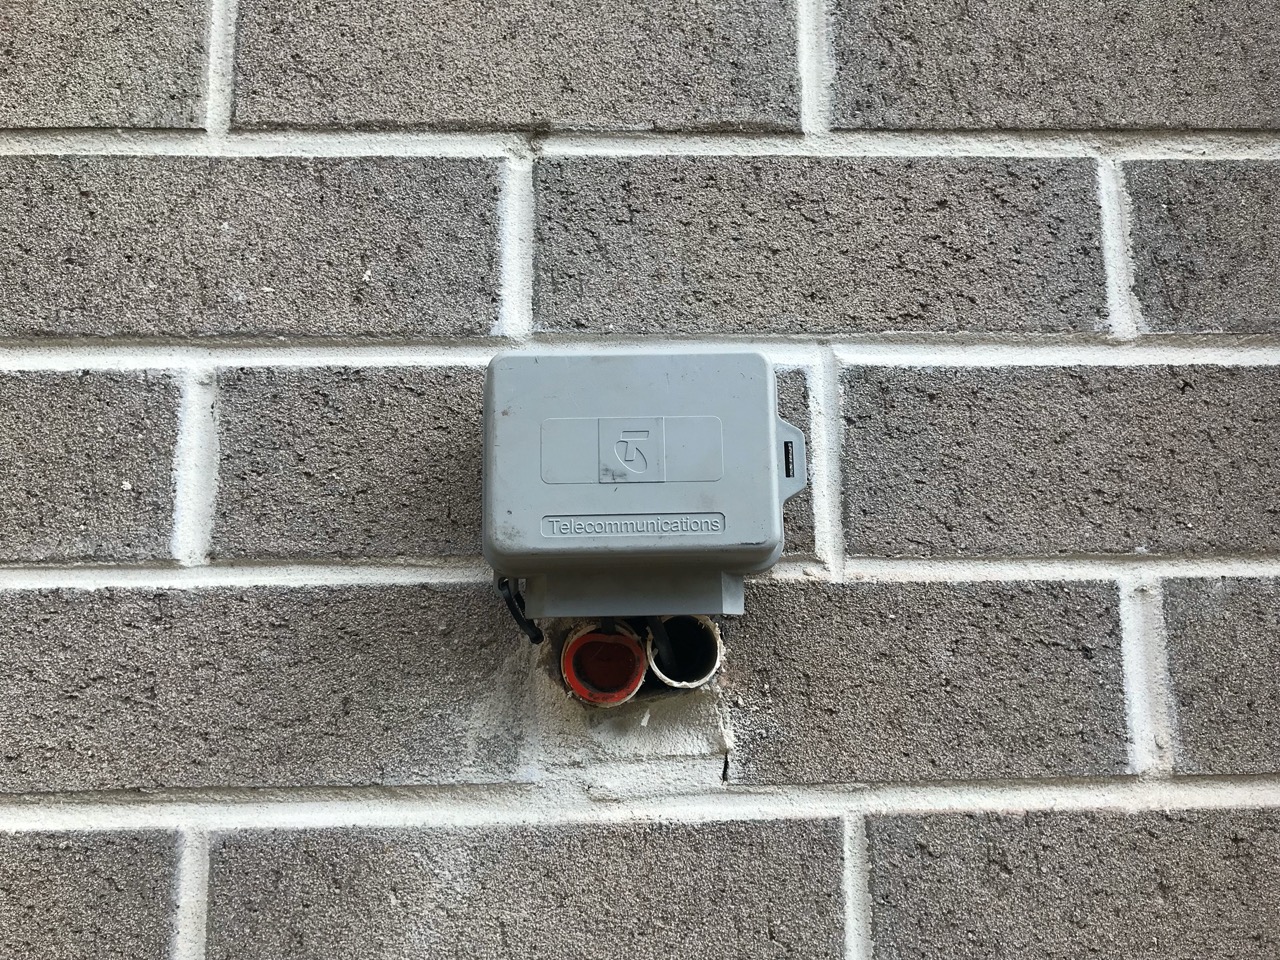
Turned out our house developer buried the comms pit in our front yard under a strip of lawn! The Telstra guy said this is something that happens more often than not and he had a spade specifically for digging the grass out around the pit!
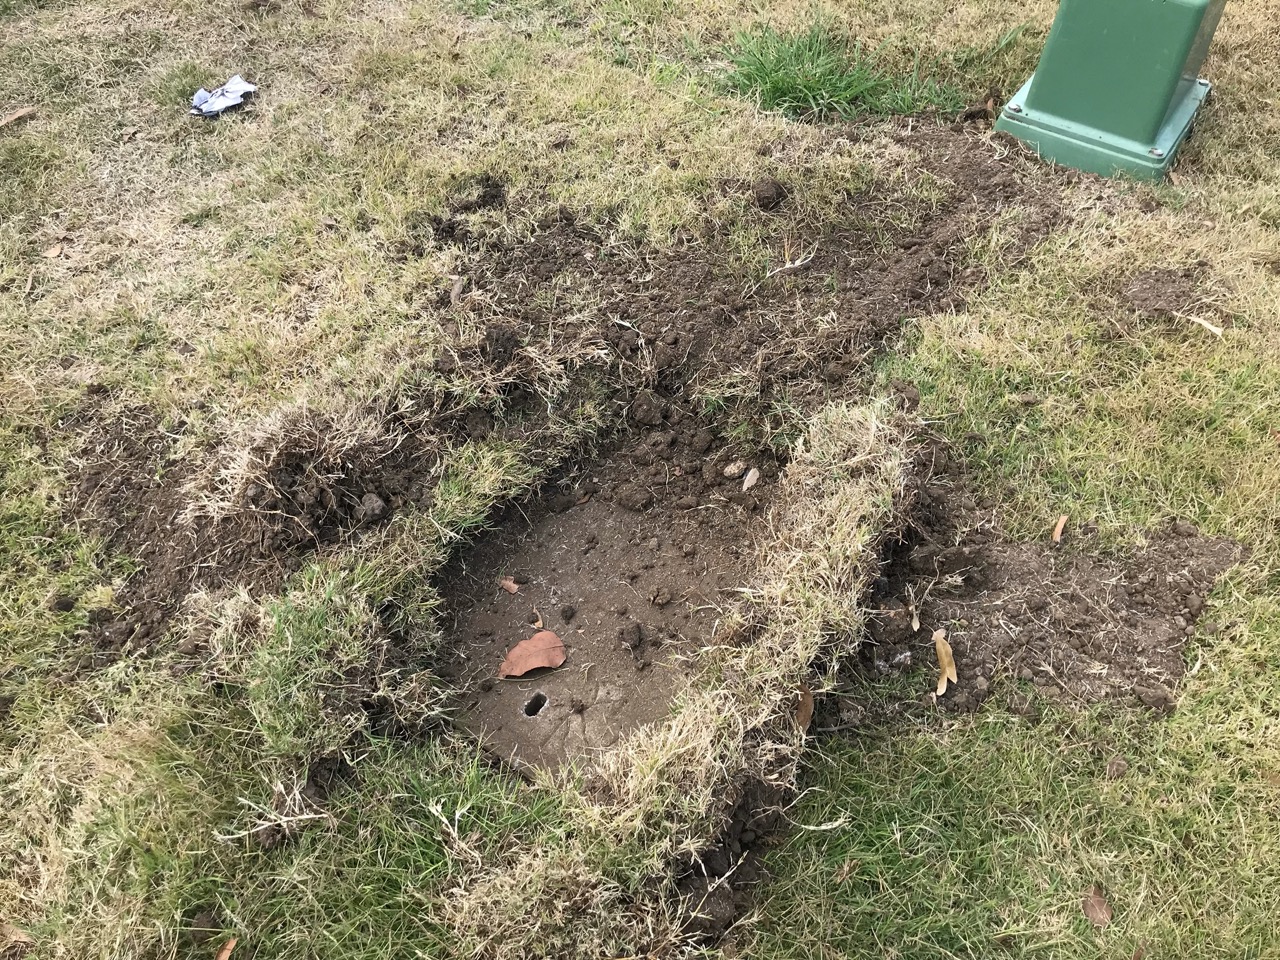
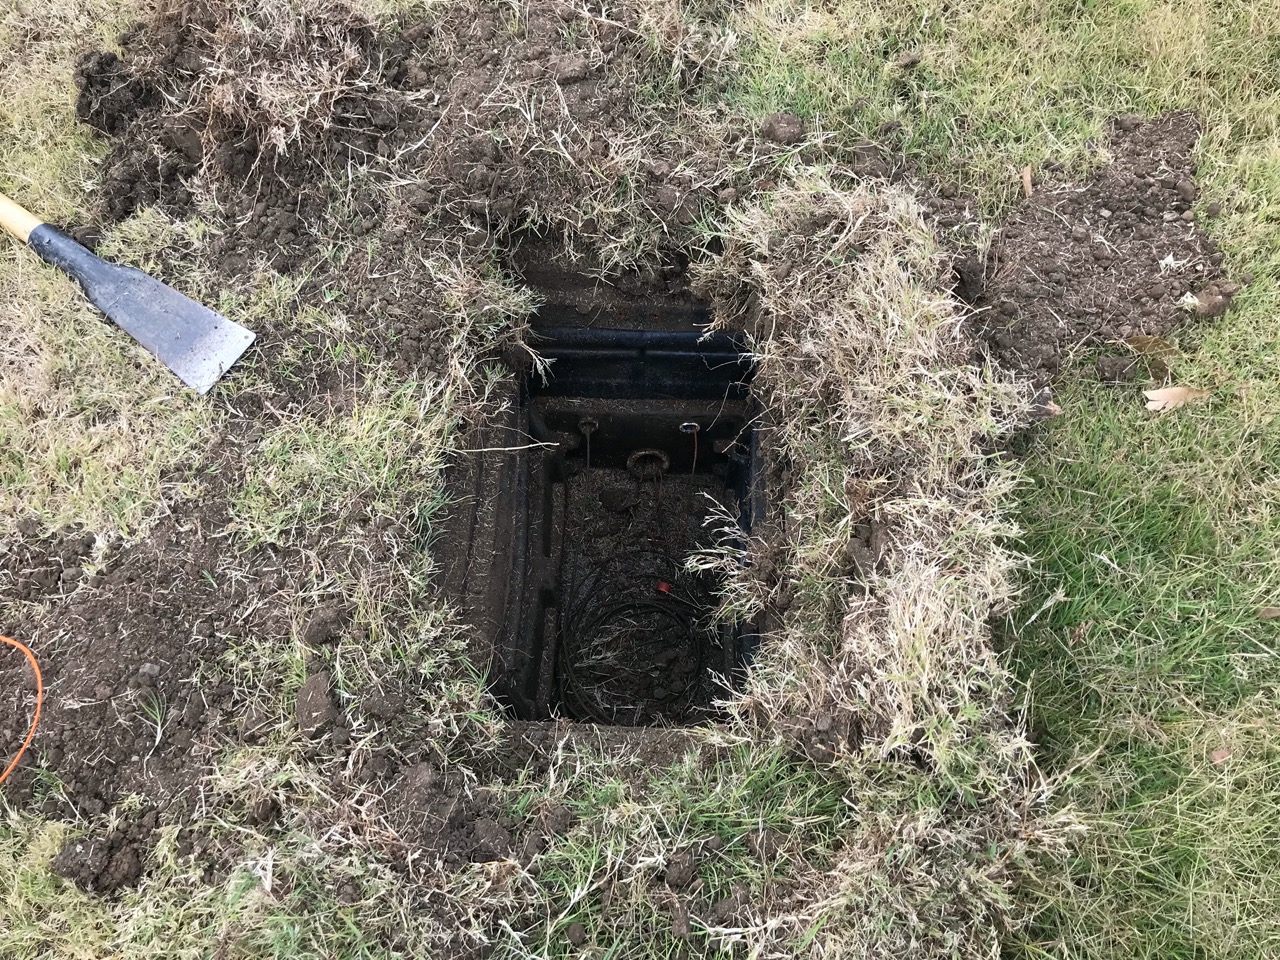
Inside the pit was nothing special, our neighbour's cable and our's both terminated here as our house is the last on our street. Our side had a bit of rope in the conduit, which led under ground to the side of the house. Looks like I didn't have to dig a trench after all! So if you're wondering if you have to do the same, just look for these conduits.
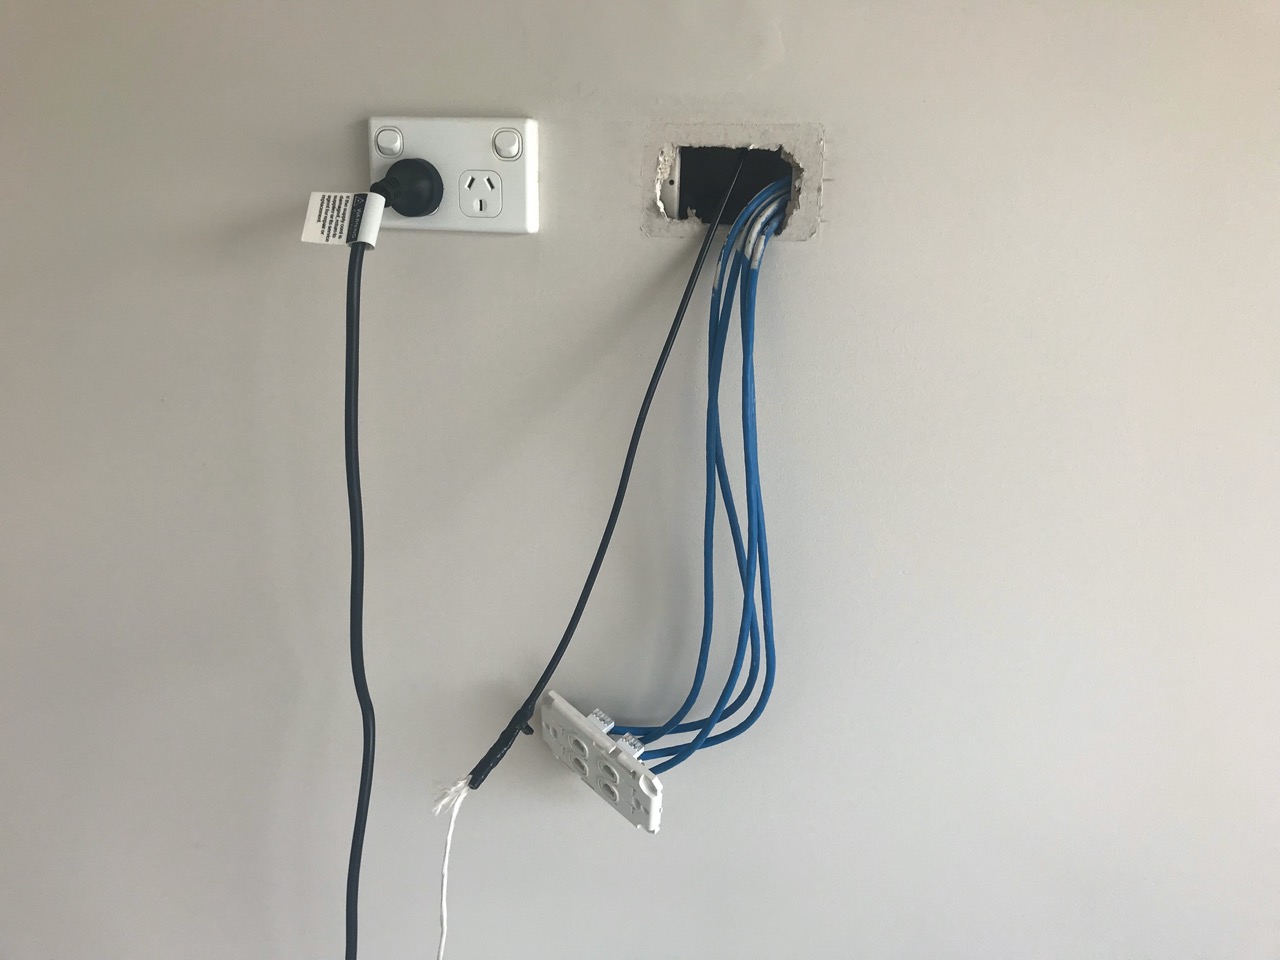
The contractor attached new cabling to this rope and pulled it through to the conduit to the outside of the house, then fed the same cable to another conduit that ran inside the house to the wall socket that had our existing RJ45 CAT 6 data ports. I detached this wall plate before the contractor arrived as they aren't allowed to meddle with internal wiring in the house.
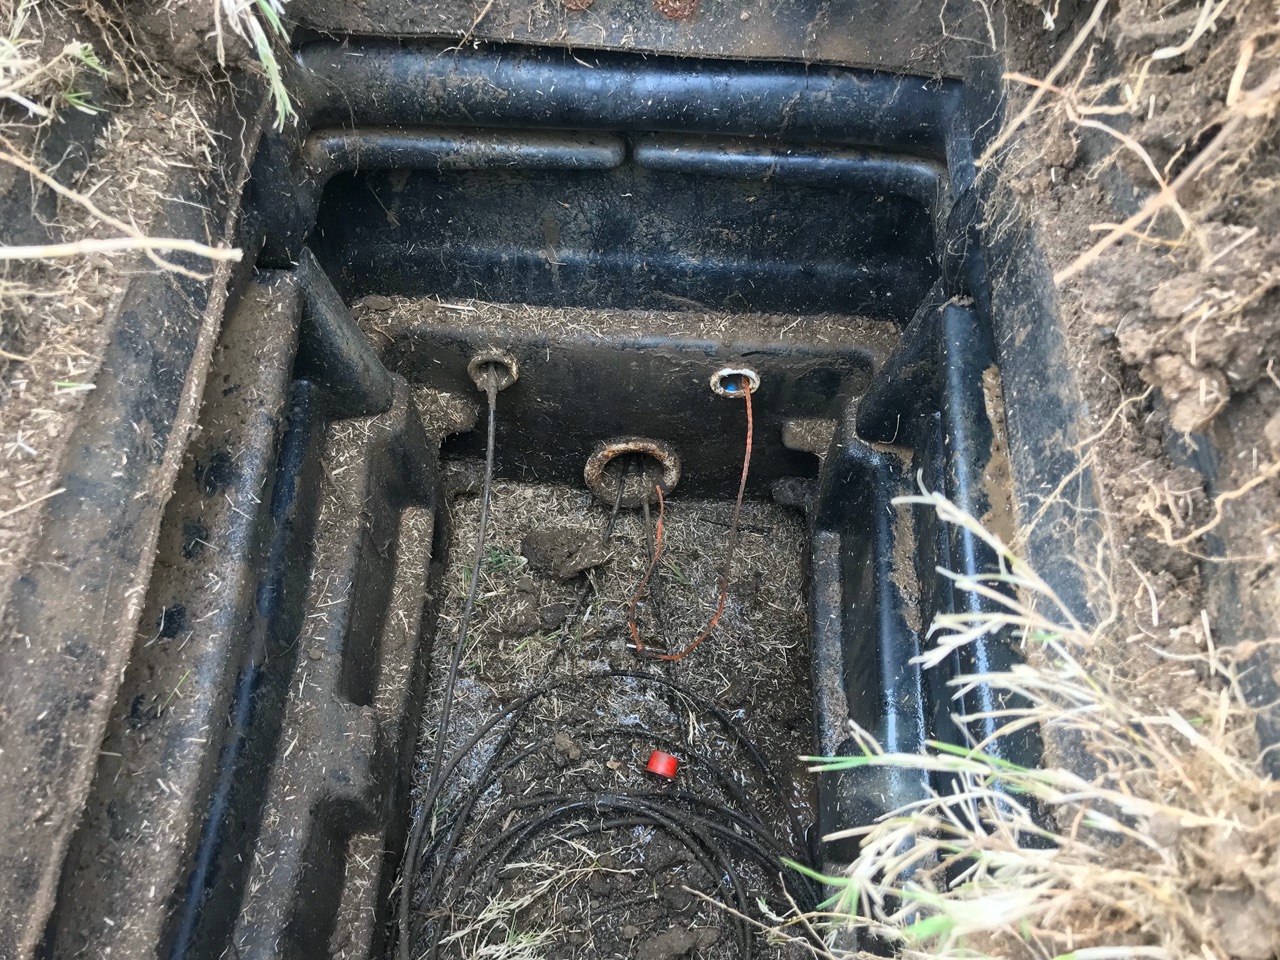
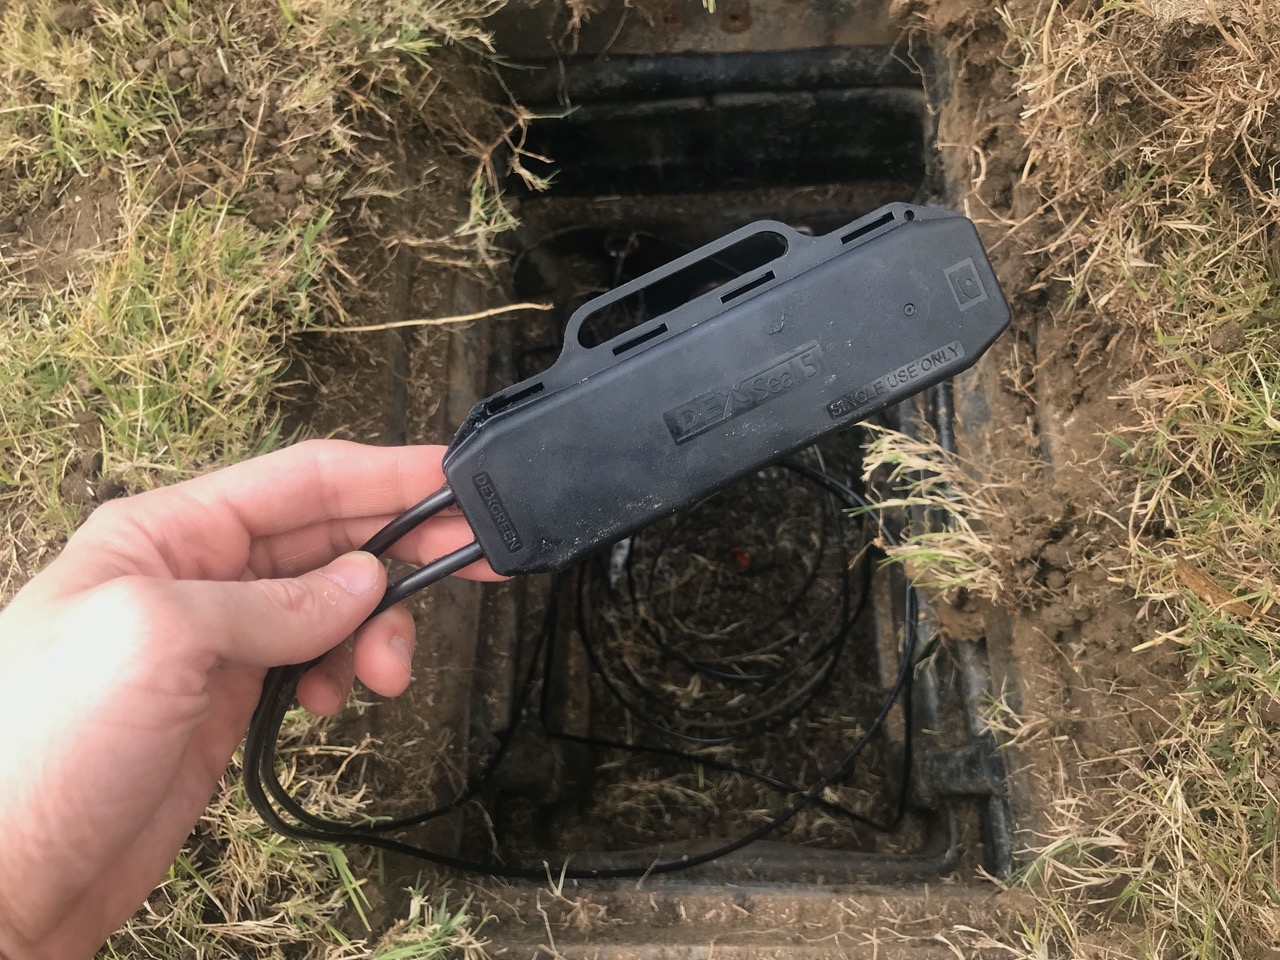
Back at the comms pit the contractor decided to have our and our neighbour's cabling run to the pit over the other side of the street since that had the terminating trunk of cables for our street. To do that he had to sever the cables and reconnect them, sealing them in these boxes that contained the most sticky silicone inside them. That was to prevent any shorts in case the pit flooded.

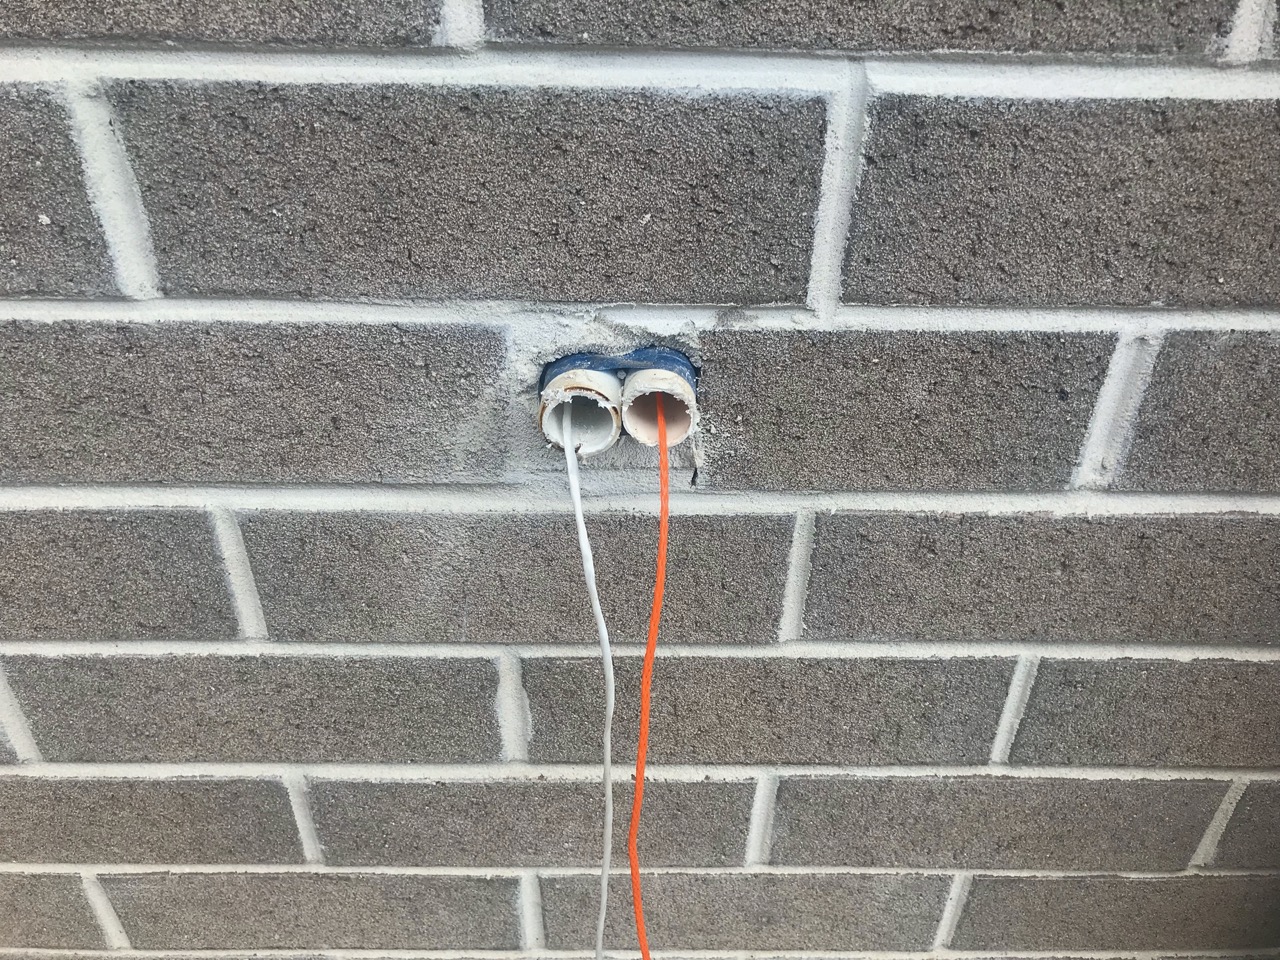
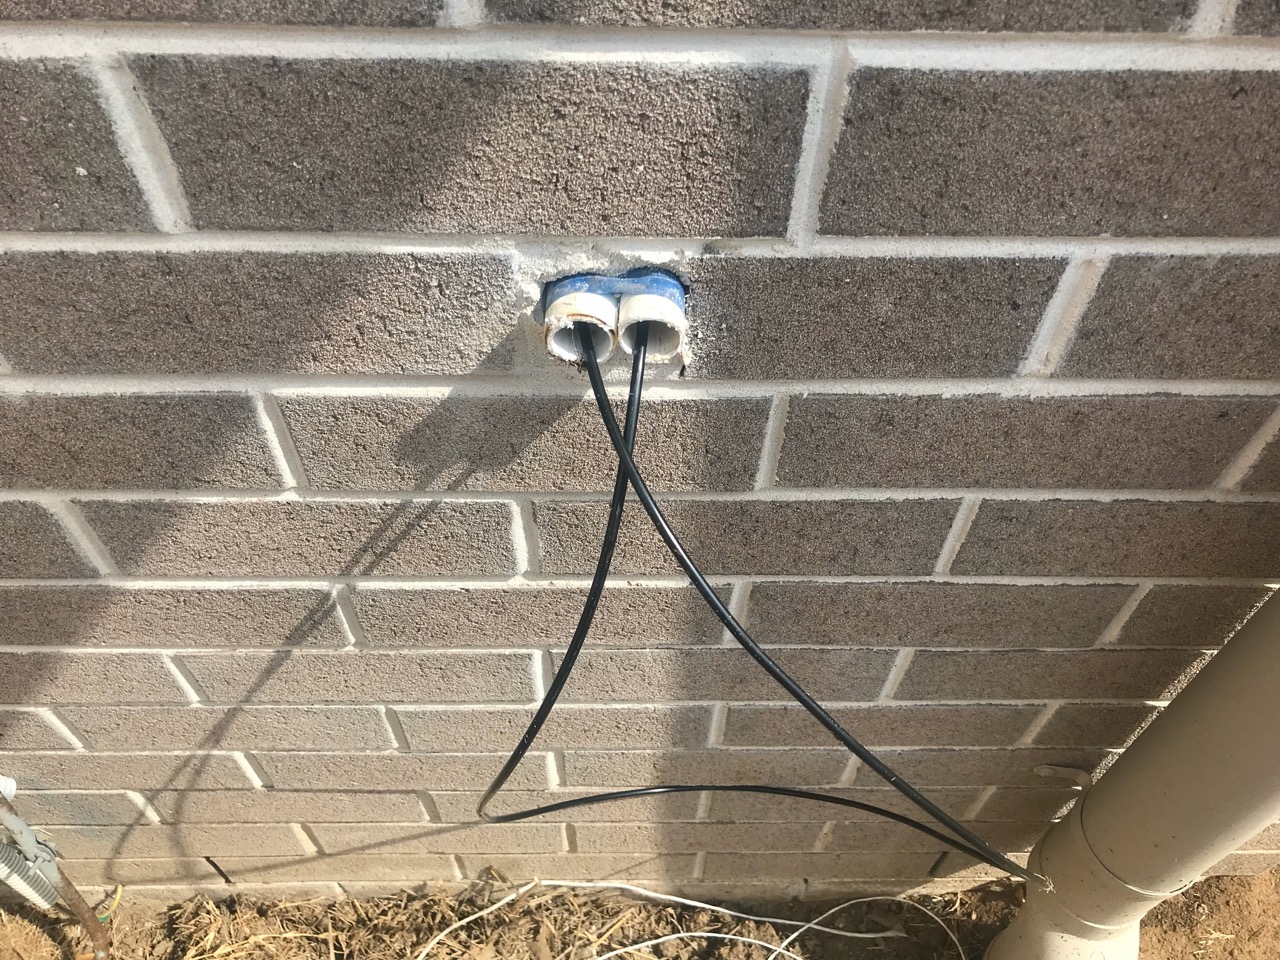
The contractor attached a small box to cover the outside cabling. Usually a larger box would be installed here, but he didn't have any on hand and I told him whatever he had would do, as long as it wouldn't delay the install. The orange plug seen in the photo came from the comms pit and was put there to prevent any bugs or any other creatures or dust, water, etc, from getting inside the conduit that led inside the house. The other conduit was left open since it led into the (most likely flooded soon) comms pit.
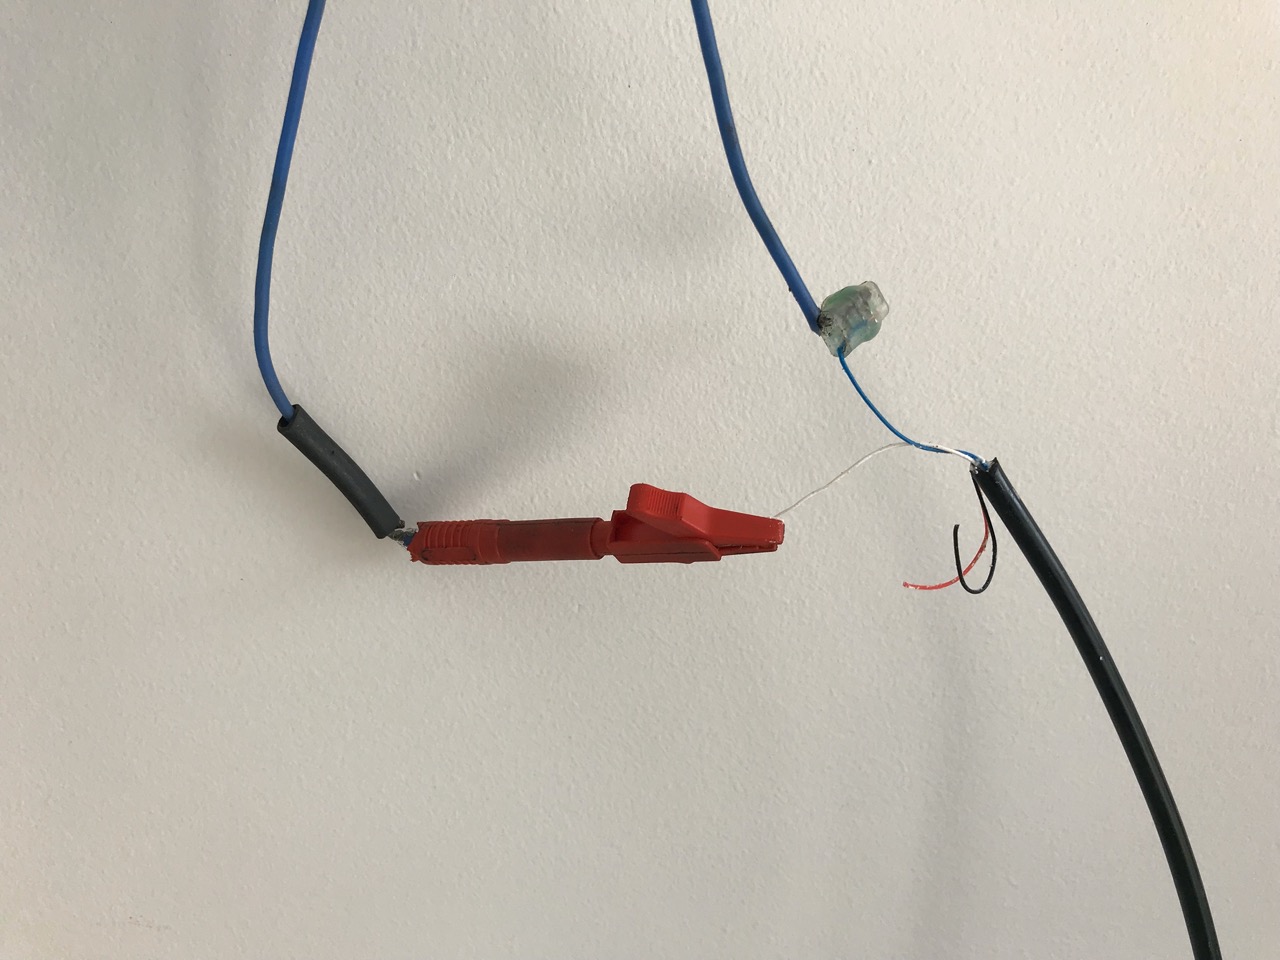
Once everything was connected outside, it was time to attach the signal generator to the cable inside the house and go to the exchange to have our house connected to a port on the Telstra network. I didn't get to go with the contractor unfortunately, but I took this time to take a bunch of the photos for this article. He was gone for around 30 minutes.
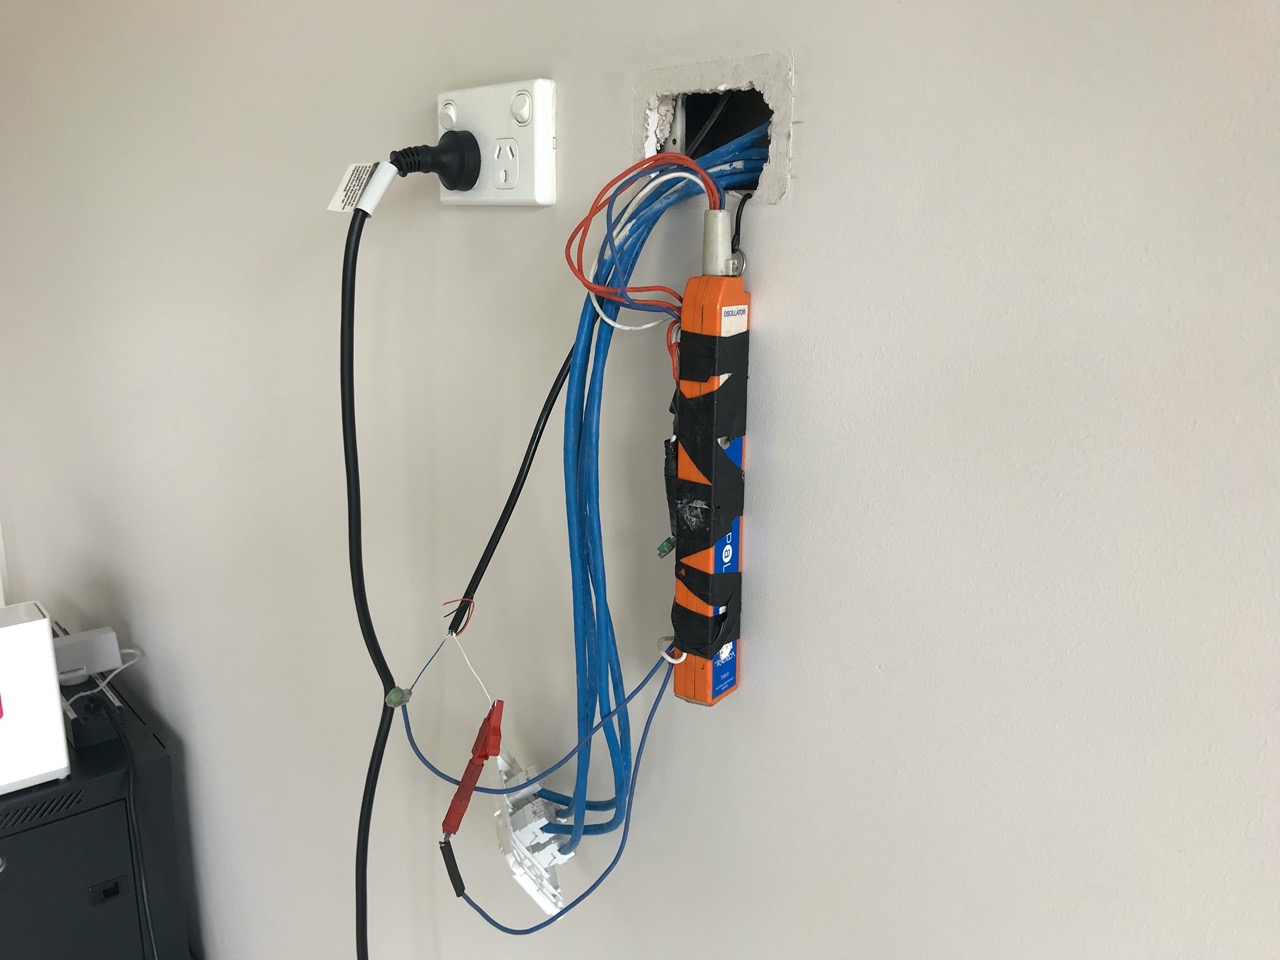
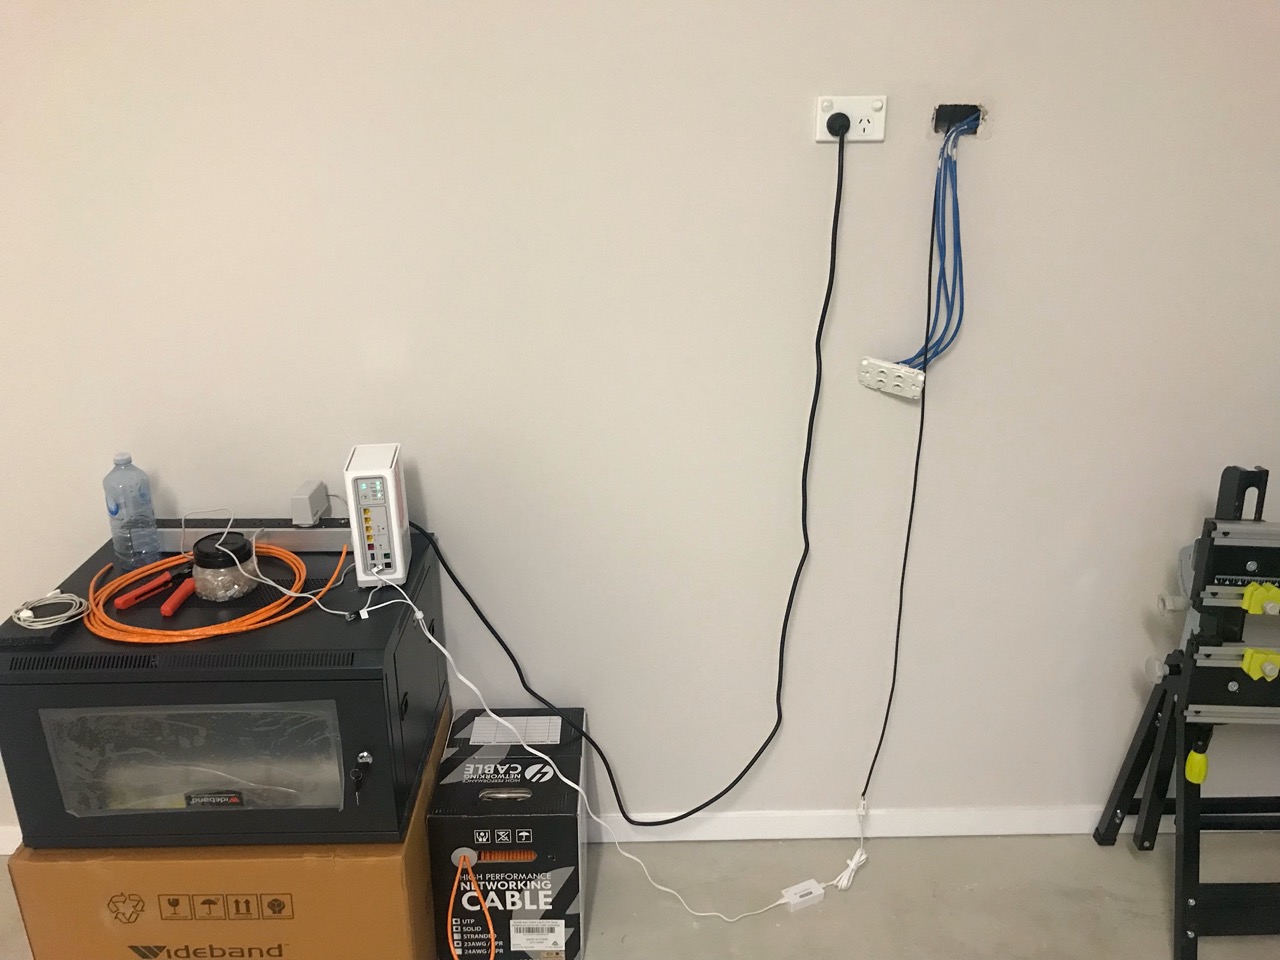
When the contractor returned, he installed an RJ45 CAT 5e socket on the end of the ADSL cable. These sockets work just fine for the 4 prong phone wires as well as the usual network cables by the way (something I didn't realise earlier). He was not allowed to install the face plate into the wall, but he left a couple of extra sockets and a face place for me to use later (which I installed myself). Usually this would be done by an electrician but if you can cut a small hole in the wall and fit a bracket, everything is quite easy to do yourself.
Overall the whole process took a bit over an hour. I did help with pulling some of the cabling through the conduits, but the contractor was more than capable of doing it himself, it would have just taken longer. He was extremely friendly and professional. A very nice experience during the installation part of the connection. The actual internet service itself turned out to be quite rubbish and cancelling it was quite an involved process. Now we wait until NBN comes to the street (which should be in a few months' time!)
-i
