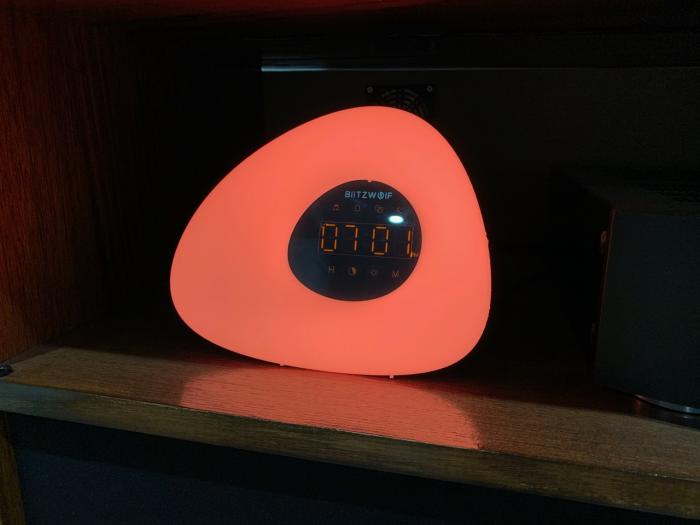
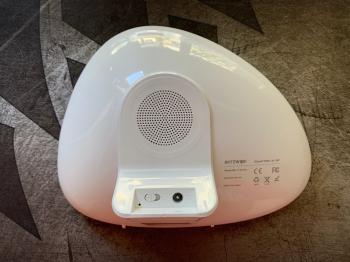
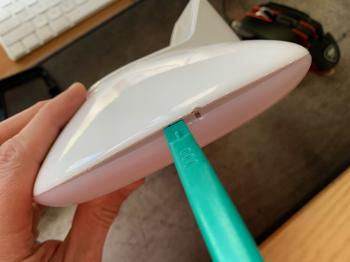
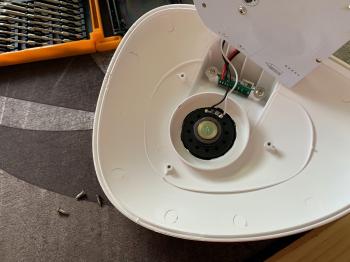
There were no screws anywhere on the outside so opening the case was a challenge already. I did manage to pry open a small section (unfortunately causing some damage) and then used a spudger to open the rest. There seemed to be some kind of adhesive holding the front and back together.
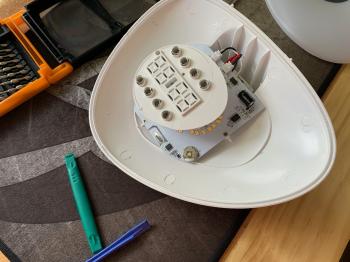
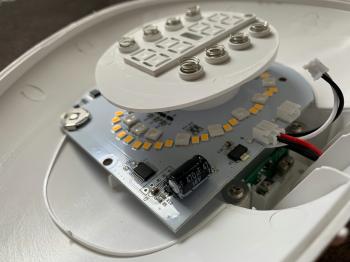
Inside was quite empty, the PCB had a custom shape and held all the LEDs and the clock assembly. Under it was a speaker.
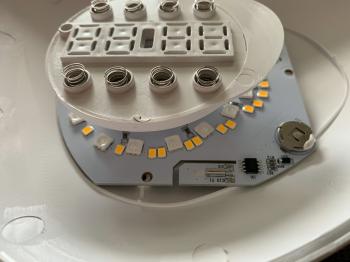
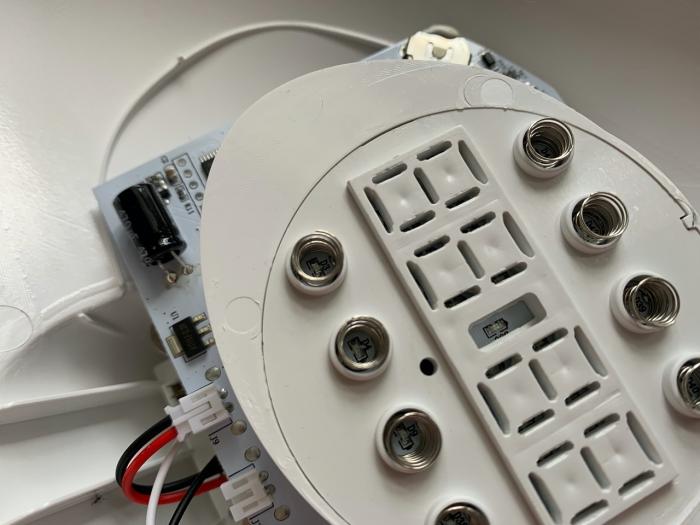
The clock/button assembly was a custom piece of moulded plastic that held the LEDs for the clock display on another PCB. This PCB also contained a number of 'buttons' - which were really just springs over contact pads, when pressed down these would short the pads and act like a button. It was an interesting take and certainly not what I was expected when reading that these were touch sensitive buttons.
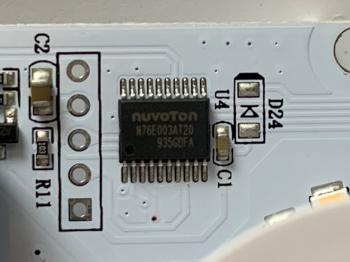
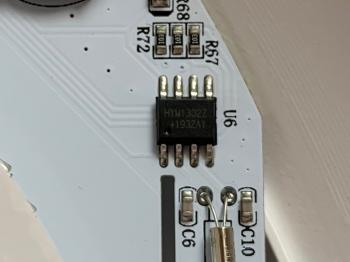
There were two significant ICs on the PCB - N76E003AT20, "N76E003 – a 1T-8051 based series MCU, offers 18 KB Flash ROM, configurable Data Flash and 1 KB SRAM." and HYM1302, "Serial Real Time Clock/Calendar".
The MCU had an unpopulated programming header next to it so that will be a future gateway to seeing if I can reflash this thing. There seems to be a good amount of documentation and software/sample code for this MCU. It appears to be programmable in C too, which is nice not having to mess around with assembler. The MCU can also be programmed in-circuit with this device.
That was as far as I got for now. I did disconnect the speaker before reassembling as it made very annoying beeps in the middle of the night sometimes. If I get around to writing custom firmware for this clock then I'll have another blog post to describe what I did.
-i
